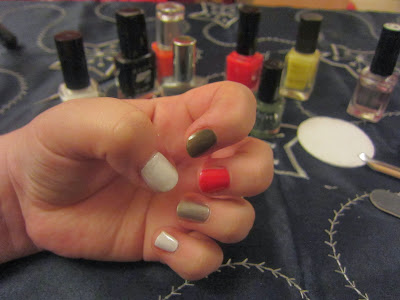
I used the following colours
Black, orange, white, metallic silver, red, yellow, green, and clear
to create a candy cane, silver, Santa's belt, Christmas tree and snowman designs
I gave myself a mini-manicure
Filing the nails and pushing back the cuticles, followed by a quick sweep of a cottonwool ball soaked in nail varnish remover to ensure the nail bed is primed for varnish
After a coat of clear nail varnish to protect the nail bed, my nails are ready for colour and design
The base coats of white, green, red, silver and white
I decant drops of the coloured varnish to a square of aluminium/tin foil to use with the nail art tool
My nail art tool is double-ended. One end is the dotting tool, the other is a very fine brush
Using the nail art too, I carefully painted on the details
The dotting tool is perfect for the snowman's eyes and mouth, and the little brush perfect for the candy cane stripes
Snowman: dotting tool for the black eyes and mouth. The brush for the orange carrot nose, and red hat and scarf.
Christmas Tree: The dotting tool for various colours of baubles
Santa's belt: the dotting tool for the buttons, and the brush for the black belt, then yellow for the belt metalwork
Candy cane: Just diagonal stripes of red using the brush
Don't forget to clean the nail art tool after every colour with a varnish remover soaked cotton pad
What do you think? Will you attempt this fun Christmas-themed nail art challenge? Remember, practice makes perfect with the nail art tool. I'm still very much a beginner, but I'm loving practicing the different techniques.


